Holiday Joy - Altenew + Papertrey Ink | Stretch Your Dies

As much happiness as colorful holiday cards bring me, there is just something about this color combo. The connection to Christmas is as instant as hearing Christmas carols on the radio, or smelling gingerbread!
So today, I have two little shares using this traditional palette and a few tips on how to stretch your dies!

____________________________________________________________________
TIP: STITCHED DIES
First up, I have a snowflake tag, cut with PTI's Stitched Snowflake die. I love that the holes are already pre-cut! I usually add a little bit of string or thin wire (if using as an ornament) and it's all set to go! This makes your "stitched" dies double as a pretty fine base for tags or ornaments!
____________________________________________________________________

To decorate my tag, I used a vellum oval, embossing tiny 'snow' with Altenew's Floral Frame stamp.
I then added a die-cut sentiment and banner (both from my stash, but similar here and here). To dress up the bottom, I added a flower using PTI's Farmer's Market Florals stamped in Sweet Blush, Pale Peony and Pure Poppy, as well as holly leaves and berries from PTI's Holly Jolly die.
____________________________________________________________________
TIP: STAND-ALONE DIES
You'll notice here, I colored the holly bits with markers, which is a fun way to dress up those stand-alone dies! You can use markers, colored pencils, watercolors and other coloring techniques to bring them to life!
____________________________________________________________________
____________________________________________________________________
TIP: STAND-ALONE DIES
You'll notice here, I colored the holly bits with markers, which is a fun way to dress up those stand-alone dies! You can use markers, colored pencils, watercolors and other coloring techniques to bring them to life!
____________________________________________________________________
It's also a perfect opportunity to share why Copics are so superior to other markers....Here I thought I could get away with a Sharpie, and as you can see, boy was I wrong! A Copic would have blended much more nicely. So next time, I'll be sure to avoid the Sharpie, but if you like this look, then Sharpie on! But remember there are so many other ways to add a splash of color to stand-alone dies.

For my card, I used a lot of the same ingredients, but also added my absolute favorite alpha dies from Altenew! Guys, I have a serious obsession with these! I have actually not been able to put them away, and I'm still creating with them, so you will be seeing them a lot in the coming weeks. Here's why:
____________________________________________________________________
TIP: LARGE ALPHABET DIES
Not only do they act as a focal point because of their size, but this feature also makes them super fun to alter! Whether you use your favorite stamp, watercolor technique, Nuvo drops, glitter, stencil, or whatever else you fancy, these larger alphas can be turned into so many amazing things! And the fact that you can create your own saying and a completely unique sentiment, is just a bonus! I promise, if you invest in one of these sets, you will reach for it time and time again!
____________________________________________________________________
____________________________________________________________________
TIP: LARGE ALPHABET DIES
Not only do they act as a focal point because of their size, but this feature also makes them super fun to alter! Whether you use your favorite stamp, watercolor technique, Nuvo drops, glitter, stencil, or whatever else you fancy, these larger alphas can be turned into so many amazing things! And the fact that you can create your own saying and a completely unique sentiment, is just a bonus! I promise, if you invest in one of these sets, you will reach for it time and time again!
____________________________________________________________________

To start this card, I stamped a faint border at the top of my base using PTI's Stitch in Time stamp set, stamped in Sweet Blush. I added a cluster of Farmer's Market Florals, stamping them in Hibiscus Burst, Raspberry Fizz, and Pure Poppy, as well as Sweet Blush, Melon Berry and Pure Poppy. I adore these sweet florals, and I can't believe how Christmas-y they look with the colors switched up! I tucked in another holly leaf underneath for some greenery. I added a few little dotted flowers from the Stitch in Time stamp set, and a red button.

For the large focal point, I used Altenew's Caps Bold alphabet dies (read my tip above), and stamped some sweet branches using PTI's Winter Berries stamp set, in Olive Twist, Spring Rain, and Blueberry Sky. I added a few little marker-made berries for a punch of pink, some Nuvo drops, and also a felt pink heart.
I mirrored the floral at the bottom corner, and also added some soft borders at the bottom of the base. I finished off my card with a gingham border, stamped with PTI's Background Basics: Gingham stamp set in Pure Poppy.
____________________________________________________________________
If you're inspired to use some of today's tips and to stretch your dies, feel free to share with us
____________________________________________________________________
If you're inspired to use some of today's tips and to stretch your dies, feel free to share with us
If you're not sure what #letsmakesomethinglovely is, check out the intro post here.
____________________________________________________________________
____________________________________________________________________

I hope you've all enjoyed this tip-sy Christmas card!
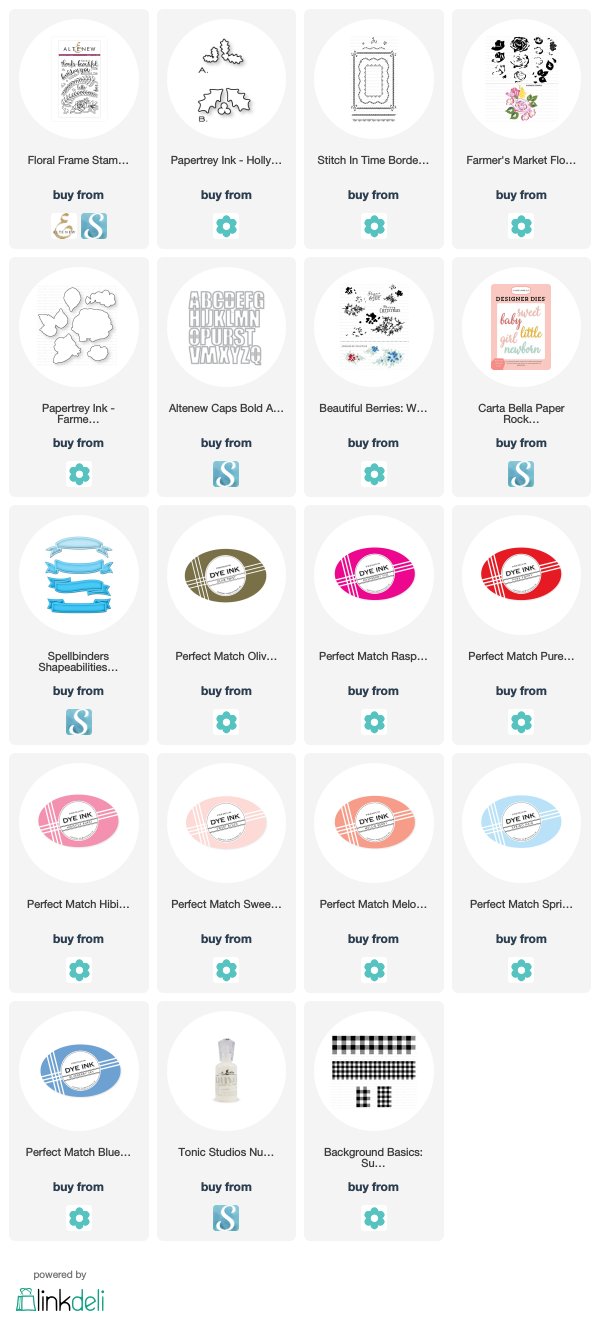
SUPPLIES
For your convenience, I've compiled a list featuring products used in the project(s) above. By using affiliate links when you shop, you will be helping to support this blog and exciting new content. Simply click below to go directly to the products, and in doing so, when you shop, I earn a small commission - at no extra cost to you! Yay to a double win!
Thank you so much for your support!


Comments
Post a Comment